

Better Homes And Gardens Sugar Cookie Cutout Recipe

Get ready to make festive holiday sugar cookies that have lightly crisp edges and soft, chewy centers. Perfect for decorating! The dough stores well, so you can prepare it in advance until ready to bake.

Table of Contents
- Equipment selection
- Use soften butter
- Cream the butter and sugar
- Add room temperature eggs
- Lemon enhances the flavor
- Baking powder creates tenderness
- Don't overmix the cookie dough
- The importance of chilling the dough
- Ready to roll out
- Cut out fun shapes
- Bake cold dough
- Experiment with other flavors
- Fun decorating ideas
- Classic Sugar Cookies Recipe
When the holiday season rolls around, every home baker needs a reliable classic sugar cookie recipe. To ensure that the dough holds its characteristic shape there are just a few key steps: managing the temperature of the ingredients, how they're incorporated, and resting. Once you master the process, you can decorate to your heart's desire or just eat them as is.
Not only do these cut-out cookies bake up into gorgeous golden treats, they taste good too! The right ratio of ingredients yields a buttery, lightly sweet flavor. I also add in freshly grated lemon zest for a delightful citrus aroma and taste. The texture has a lovely soft chew in the center and crisp edges.
Equipment selection
To quickly and efficiently make the cookie dough, I use a stand mixer. I find that the paddle attachment effectively creams the butter and sugar together without over whipping the mixture. Alternatively, you can use an electric hand mixer with beaters.


Use soften butter
It's essential to soften the butter just below room temperature, about 65 to 67ºF (18 to 19ºC). This ensures that the needle-like beta prime fat crystals hold their shape so that the dough can trap air. You can leave the butter out at room temperature for about 30 minutes, or slice them into smaller pieces to speed up the process. Some microwaves have a setting for softening. There should be a little resistance when pressed with your finger; it should leave an indent.
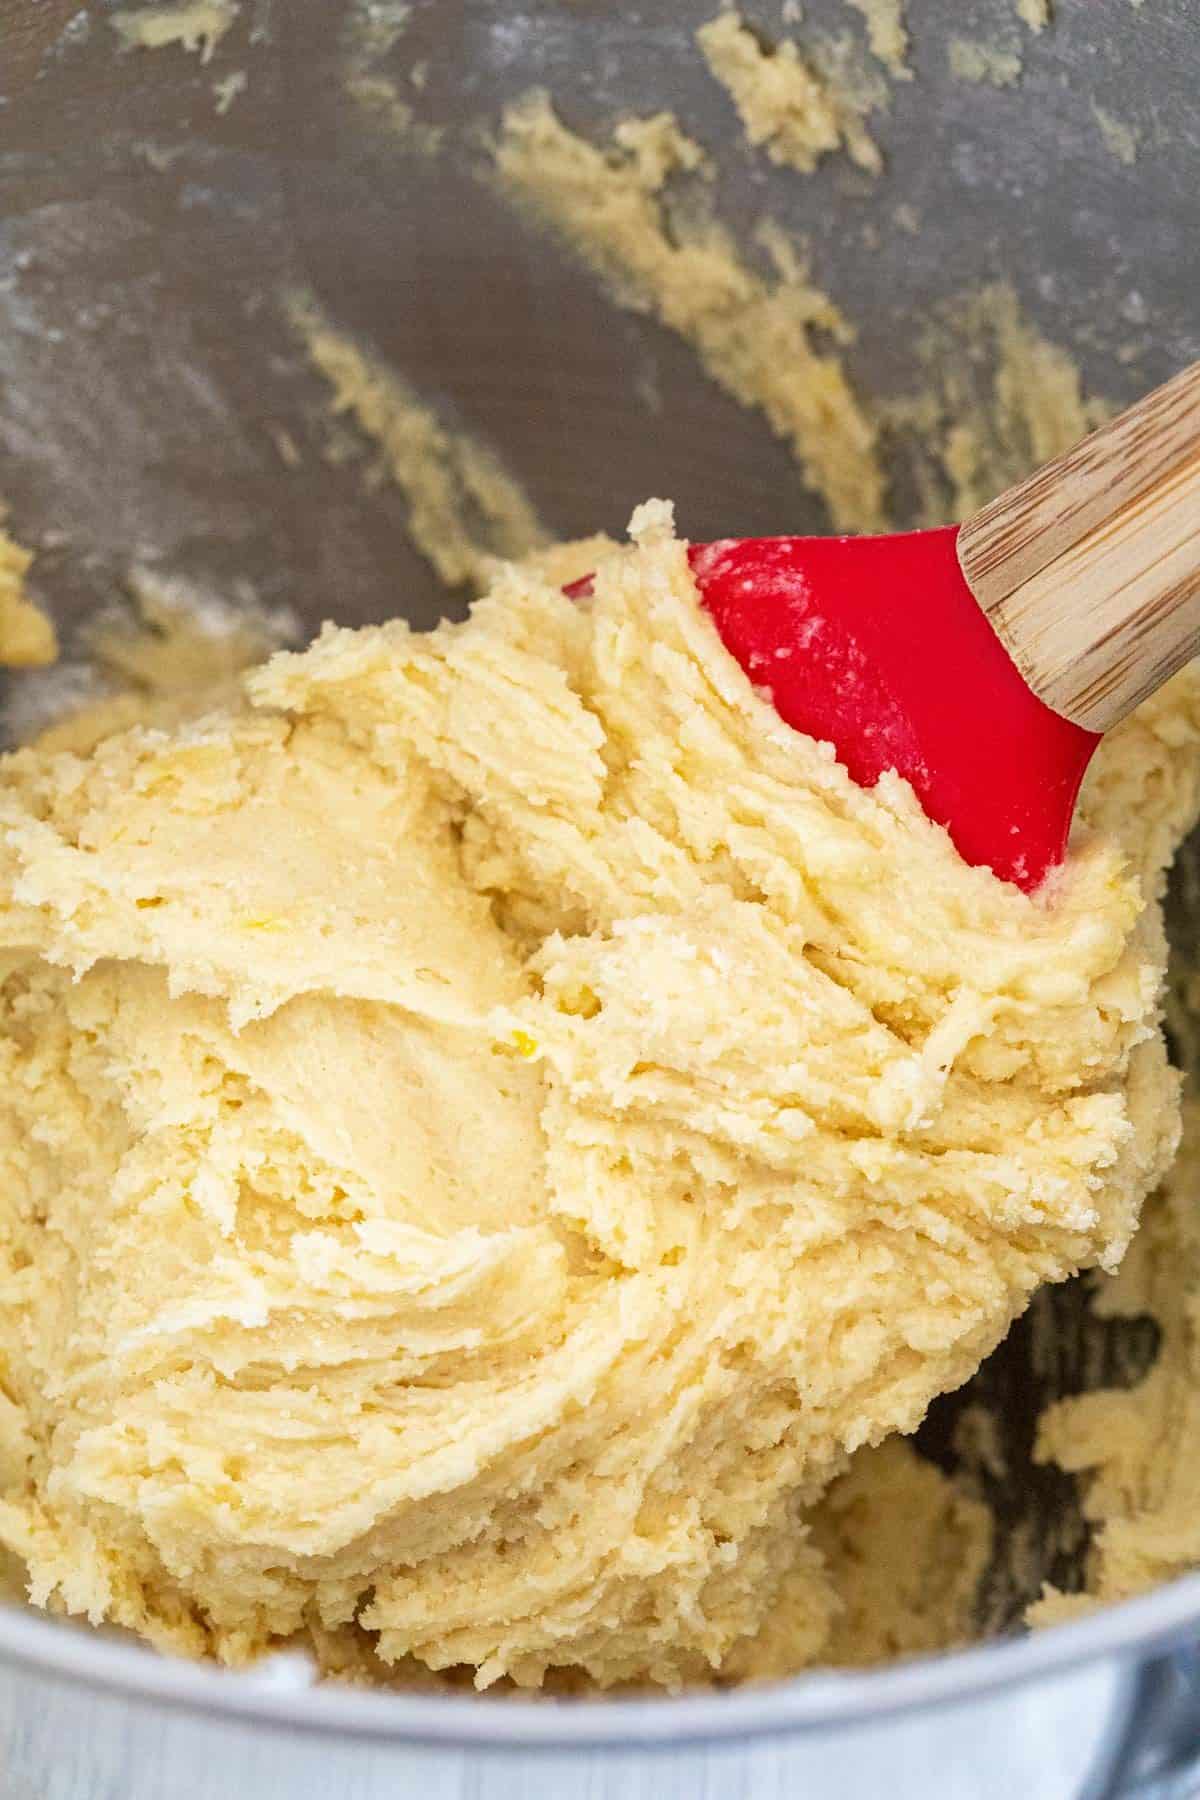
Cream the butter and sugar
The malleable texture of the softened butter makes it easier to mix with the granulated sugar. These two ingredients mix first in a process called creaming. This method beats in tiny air pockets into the fat to create a light and tender crumb in the cookie. The mixture should look light and fluffy, a sign of air incorporated inside.
Add room temperature eggs
Eggs that are similar in temperature with the other ingredients combine better. The texture is less thick, so it mixes more smoothly. It also prevents the butter from clumping up when added cold. I like to place the cold eggs in a bowl, cover with warm (not hot) water and let it sit out for 5 to 10 minutes before using.
Lemon enhances the flavor
To make the simple vanilla-flavored cookie more interesting, add in fresh citrus. I use just a teaspoon of lemon zest in this recipe. The natural oils in the skin release a wonderful aroma and flavor during baking, but without the sour taste.
Baking powder creates tenderness
Just a small amount of this chemical leavening agent provides lift in the cookie dough due to gas formation. This allows the centers to be soft (but not cakey), and still have a nice chew. The baking soda within the product accelerates the Maillard browning reaction during the short bake time that yields crisp edges. I only add a little. Otherwise, the cookies will spread out too much and not hold their shape.


Don't overmix the cookie dough
Once you add the flour to the dough, mix it just enough so that the flour is no longer visible. Overmixing increases gluten-formation, which causes the flour proteins to become very tough. When baked, the cookies will have a harder texture.
The importance of chilling the dough
Chilling the dough helps the cookies hold their shape and prevents them from spreading during baking. Refrigerating for at least 3 hours or 1 ½ hour in the freezer hardens the butter after creaming so that the dough firms up. The rest time also allows the protein bonds in the flour developed during gluten-formation to relax. This process prevents a tough hard cookie.
Ready to roll out
Separate the dough into two portions to make it easier to roll. This technique also reduces the time that the dough sits at room temperature. It's much easier to work with cool dough. It will be slightly sticky, so use as much flour as needed for dusting the surface. Aim for a thickness of ¼-inch to provide a nice sturdy cookie for decorating.

Cut out fun shapes
You can use any type of cookie cutter to make decorative shapes. If the dough sticks to the blades, you can dip them first into some flour before pressing into the dough. Pair similar sizes on the same sheet pan. Smaller 2-inch cookies need less time to bake than 4-inch size.
For this recipe, I use about 3-inch sized cutters. If you mix up the sizes too much, the baking will be uneven. If this is unavoidable, just make sure to remove the small cookies sooner from the oven and let the larger pieces bake longer as needed.
Bake cold dough
To reduce the spread of the cookie, bake when the dough is still cool to the touch. This ensures that the butter is still firm enough that it doesn't melt too quickly. Work fast after rolling out the dough and cutting your shapes. If not baking right away, you can always refrigerate the sheet tray with the pieces on it.

Experiment with other flavors
- Substitute orange zest for lemon, or omit the citrus altogether.
- Try peppermint, almond, or anise extract instead of vanilla.
- Use real vanilla beans or vanilla bean paste instead of vanilla extract to create speckles in the cookies.
Fun decorating ideas
- Spread some cream cheese frosting on top for a sweet and tangy topping.
- Decorate with royal icing for more intricate designs.
- Use a simple sugar glaze for a shiny appearance.
- Pipe or spread some frosting on top and add your favorite sprinkles.
- Add gel or liquid colors to the dough when combining the wet ingredients to change the color appearance.

Only re-roll the dough once
Even if you methodically cut out the cookies as close as possible, you'll still have extra scraps of dough. Those pieces can be reformed into a ball, chilled, then rolled out again. However, only reroll them once. The more you work the dough, the more gluten-formation will occur and toughen the cookie.
Pin this recipe to save for later
Pin This
- ¾ cup unsalted butter, softened to 65 to 67ºF (18 to 19ºC)
- 1 cup granulated sugar
- 2 large eggs, room temperature
- 1 teaspoon lemon zest, optional
- ½ teaspoon vanilla extract
- 2 ⅓ cups all-purpose flour, dip and sweep, plus more for dusting
- 1 teaspoon baking powder
- ½ teaspoon kosher salt
-
In a stand mixer fitted with the paddle attachment, add the softened butter and sugar. Mix on medium-low speed (setting 4) until light and fluffy, 2 minutes. Scrape down the sides of the bowl with a spatula.
-
Add the room temperature eggs, lemon zest, and vanilla extract. Mix on medium-high speed (setting 6) until combined, 20 to 30 seconds. Scrape down the paddle, side, and bottom of the bowl.
-
Sift the flour and baking powder into a medium bowl. Add the salt, whisk to combine, then add to the mixer. Pulse on and off 8 times. Scrape down the sides of the bowl. Mix on low speed (setting 2) until the dough just comes together, 10 to 15 seconds. Do not overmix. Use a spatula to give a final mix. The dough will have a sticky consistency.
-
Transfer half of the dough to a piece of plastic wrap, cover, and press into a 1-inch thick disc. Repeat with the remaining dough. Refrigerate for at least 3 hours or freeze for 1 ½ hours. The dough can be placed in a resealable plastic bag for up to 5 days, or frozen for up to 1 month and defrosted before using.
-
Line two baking sheets with parchment paper then set aside. Set the oven rack to the middle position. Heat to 350ºF (177ºC).
-
Work with one piece of dough at a time to keep it cool. Allow the dough to sit on the counter for 3 to 5 minutes to make it easier to roll.
-
Lightly dust the work surface, the top of the dough, and the rolling pin with flour, using more as needed as the dough is slightly sticky. Roll, rotate, and dust with flour until ¼-inch thick.
-
Immediately use desired cookie cutters to cut out shapes, cutting them as close together as possible. Transfer the pieces to the parchment paper lined sheet pans, about 1-inch apart. Any extra dough scraps can be rerolled out 1 more time. If needed, chill before rolling.
-
Bake the cookies while still cool one tray at a time. If not baking right away after cutting, keep them chilled in the refrigerator. Bake for 6 minutes, rotate, and bake for an additional 5 minutes, or until the surface is dry and bottoms are lightly golden brown.
-
Cool on the baking sheet for 3 to 5 minutes then transfer to a wire rack. Alternatively, for a softer cookie with less crisp edges, immediately transfer to the wire rack after removing from the oven. Completely cool the cookies before decorating, about 30 minutes.
-
Roll out the remaining piece of dough and repeat the cutting and baking process. If reusing the parchment paper lined sheet pans, make sure the pan is cooled down before using.
-
Rolling Pin
- Properly weigh the flour: Weigh the flour on a digital scale for the most accurate results. Alternatively, dip the measuring cup into the flour, then sweep off the excess flour. This makes for a denser measurement, but don't pack the flour in the cup.
- Bake time: About 10 minutes for 2-inch cookies, 11 minutes for 3-inch cookies, or 12 minutes for 4-inch cookies. A visual check will be the best guide.
- Baking a smaller batch: If baking only about 6 cookies on a tray, check for doneness sooner. After baking for 6 minutes and rotating, check every 1 minute. They brown much faster due to less moisture in the environment.
- Make-ahead dough: The dough can be mixed and stored refrigerated for up to 5 days, or 1 month frozen. Unbaked cut-out cookies can be covered and refrigerated for up to 5 days, or frozen for 2 weeks.
- Storing: Store baked cookies in an airtight container at room temperature for up to 5 to 7 days. Store in the freezer.
Want to save this recipe?
Create an account easily save your favorite content, so you never forget a recipe again.
Register now
Nutrition Facts
Classic Sugar Cookies
Amount Per Serving
Calories 89 Calories from Fat 36
% Daily Value*
Fat 4g 6%
Saturated Fat 3g 15%
Cholesterol 19mg 6%
Sodium 37mg 2%
Potassium 24mg 1%
Carbohydrates 12g 4%
Fiber 1g 4%
Sugar 6g 7%
Protein 1g 2%
Vitamin A 131IU 3%
Vitamin C 1mg 1%
Calcium 9mg 1%
Iron 1mg 6%
* Percent Daily Values are based on a 2000 calorie diet.
Tried this recipe?
Tag @jessica_gavin on Instagram. I'd love to see how it turns out!
Tag @jessica_gavin
Filed under: 4th of July American Baking Christmas Cookies Desserts Easter Halloween Rolled Cookies Thanksgiving Valentine's Day Winter
This post may contain affiliate links. Please read my disclosure policy.

I'm a culinary school graduate, cookbook author, and a mom who loves croissants! My passion is creating recipes and sharing the science behind cooking to help you gain confidence in the kitchen.

You May Also Like
Better Homes And Gardens Sugar Cookie Cutout Recipe
Source: https://www.jessicagavin.com/classic-sugar-cookies/
Posted by: mcdougalthilbod.blogspot.com
0 Response to "Better Homes And Gardens Sugar Cookie Cutout Recipe"
Post a Comment